Making an Action Figure Trenchcoat
A friend came to me a few months ago with a request. He was making an action figure of his OC and needed a proper black "leather" trenchcoat for it. See, someone else had made him one, and it was too tight in the sleeves. The seam connecting sleeve to shoulder had clearly popped and was being held together by a clumsy whipstitch. He wanted the jacket repaired if possible, and replaced if not. He also wanted the jacket to fit this other, slightly larger figure he had, if possible. If not, I would simply make another jacket for the bigger figure.
(Both figures were given to me headless. This was not a problem for me, since I wouldn't be making a hood.)
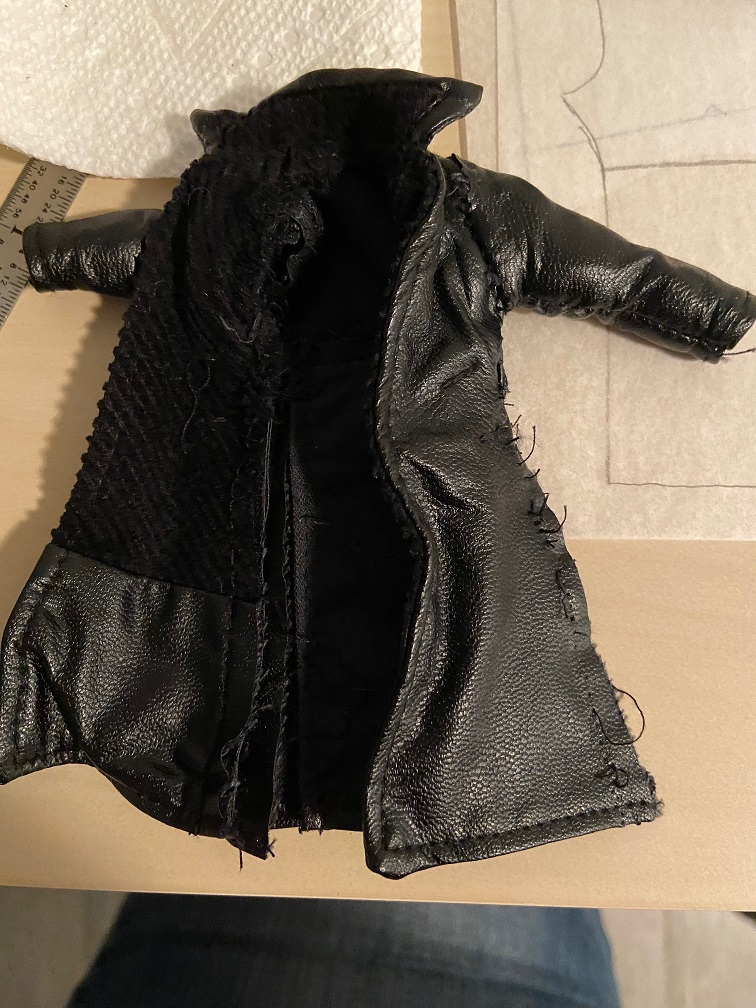
It took much doing, but I was able to get the jacket off of the figure without cutting it off him. It was very professionally sewn by an experienced sewist, but there were several minor bad decisions made in construction that added up to a very poor fit.
Sin #1: The pattern used was very obviously for Barbie. Barbie is a wonderful doll and fun to sew for. The pattern was obviously a very high-quality pattern that would fit Barbie very nicely. But Barbie has stick-thin arms, whereas the action figure's arms were quite beefy. The fact that the figure was slightly smaller in scale than Barbie was not enough to make up for this.
Sin #2: The sewist had used a 1/4" seam allowance. There is nothing wrong with this in principle, as long as you remember to trim it back to 1/8" after sewing each seam to prevent bulk. They had not done this. Big seam allowance can affect the fit of a garment at this scale.
Sin #3: Lining the faux-leather in the front of the garment is obviously a good idea, so the jacket looks nice hanging open. I would have used black quilting cotton for a figure of this scale. Our mystery sewist used corduroy. Corduroy is waaaay too thick to use for a doll or figure, unless you deliberately account for that bulk. They hadn't, as far as I could tell.
Requiem Art has a very nice action-figure trenchcoat pattern here, but I was hesitant to purchase it because my friend's figure is a bit bigger than 6" scale and I might as well make a whole new pattern as scale it up. This meant working from scratch. Sadly, I have no photos of making the pattern, but you can follow the instructions here or the video here if you want to do it yourself. If you do, make sure to cut the tape off very carefully so you don't scratch up your figure.
After the sloper comes an actual pattern. I decided to draft a 1/4" seam allowance, which I would then trim back after sewing each seam. This part just required a ruler and some tracing paper. I carefully measured out 1/4" from the edges of the sloper, then drew a pattern, using the ruler to get straight lines for the seams that needed to be straight. I could have used a French curve to make the curved parts super-smooth, but at this scale it's not that hard to draw a smooth curve. (At American Girl-scale, or patterning for human clothing, I absolutely would have used that French curve.)
After the pattern comes a toile, or mock-up of the garment. Most people use muslin for this, since it's about as inexpensive as fabric gets and you don't want to waste your nice fabric on a toile. But sewing for small dolls and action figures uses so little fabric that it really isn't a big deal to use your final fabric for this. I have plenty of thin faux leather. (I think stretchy faux leather is called lamé? Or maybe that's just the metallic kind.)
The next step was simple: I pinned the pieces I wanted lining for onto some black quilting cotton (pre-washed) and cut them out. Then I applied a very thin line of FrayCheck to the edges to keep them from coming apart as I worked.
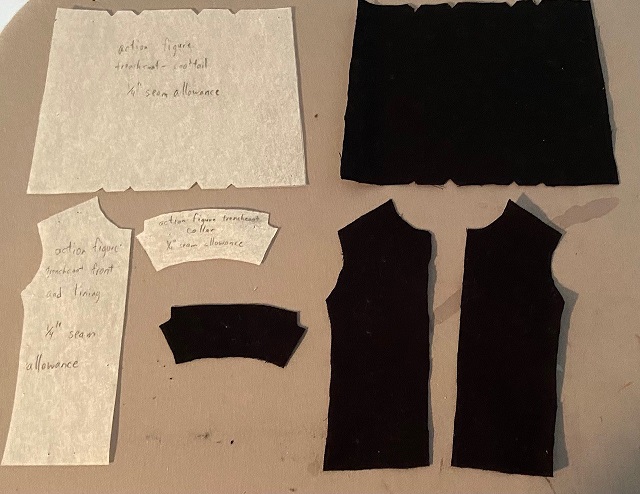
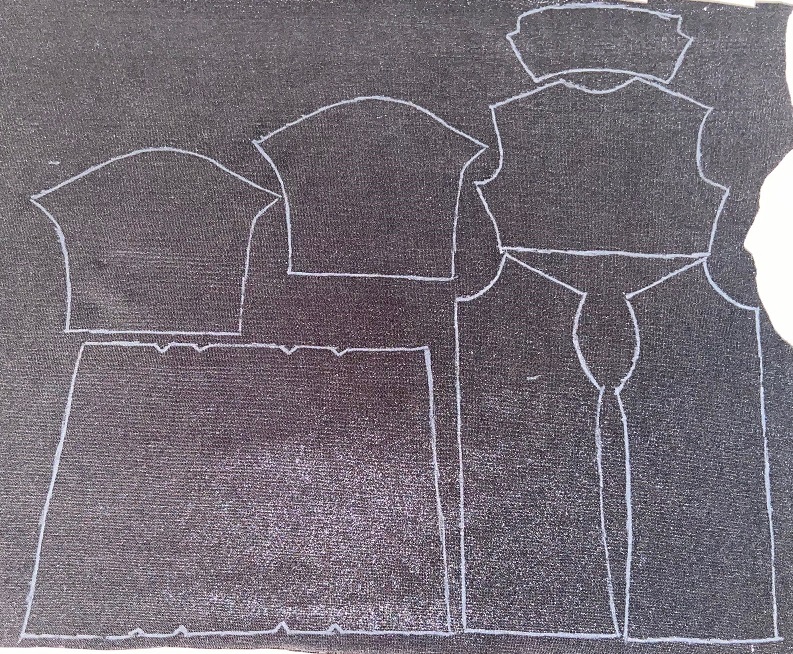
I couldn't pin the pattern pieces onto the faux leather, because then I'd have a bunch of pinholes in the vinyl. So I used a white gel pen to carefully trace the pattern pieces onto the wrong side of the fabric, then cut along the lines. (The contrast in the photo is a bit off because of how my phone auto-adjusted.
Next, I sewed everything together. If you know how to sew a collared shirt with a lining, it's the same process, but with a minor bit of complication to make a gathered coattail. This part only took me about an hour and a half, and that was because I found I'd made the coattail too long and had to trim about an inch off it. (How??)
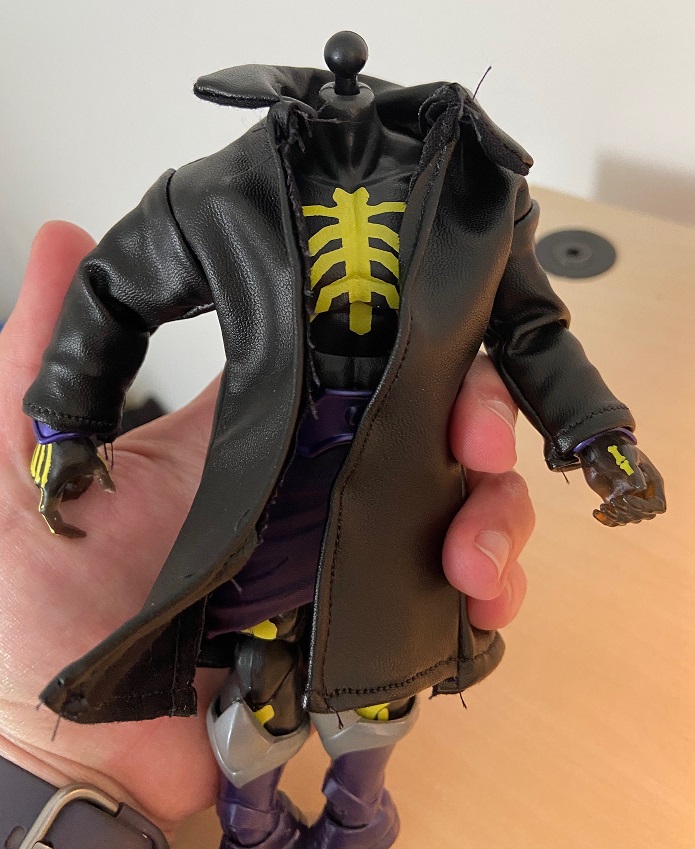
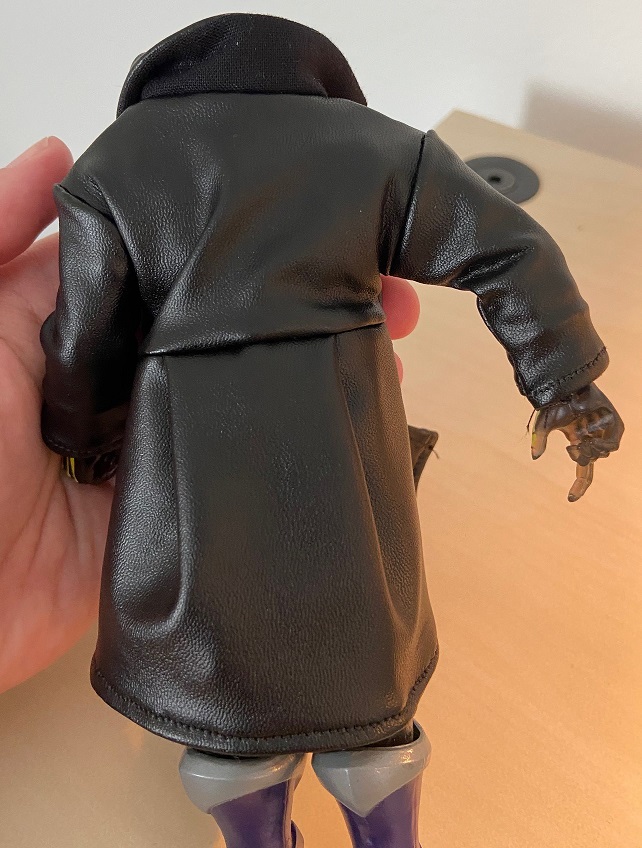
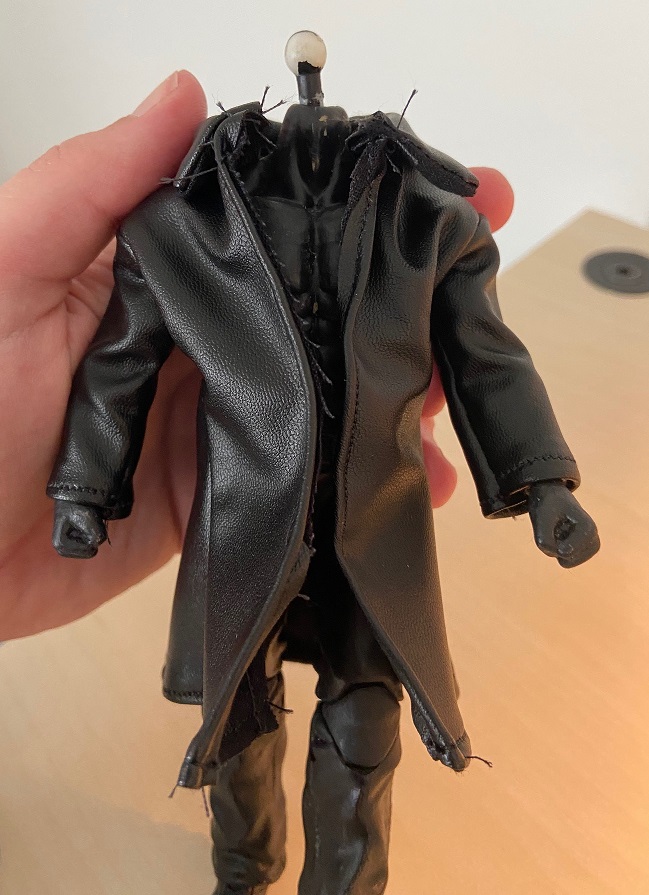
As you can see, the jacket was a success.
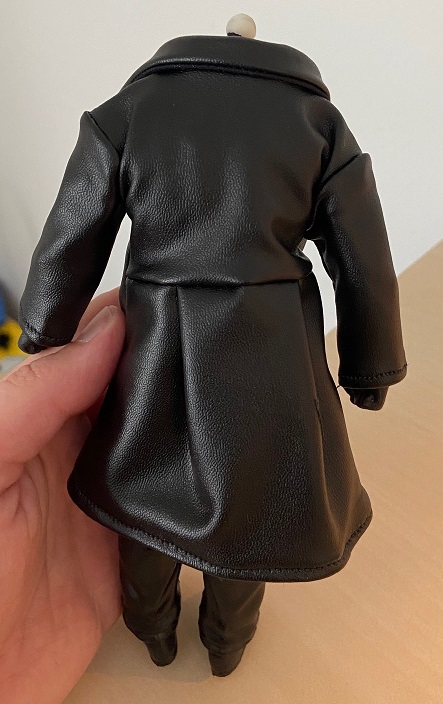
It even fit the bigger figure, too, so I didn't have to sew a second jacket!