Adventures in Doll Sewing: Repairing Felicity's Shift
There isn't actually much sewing to this project, but I figure it counts.
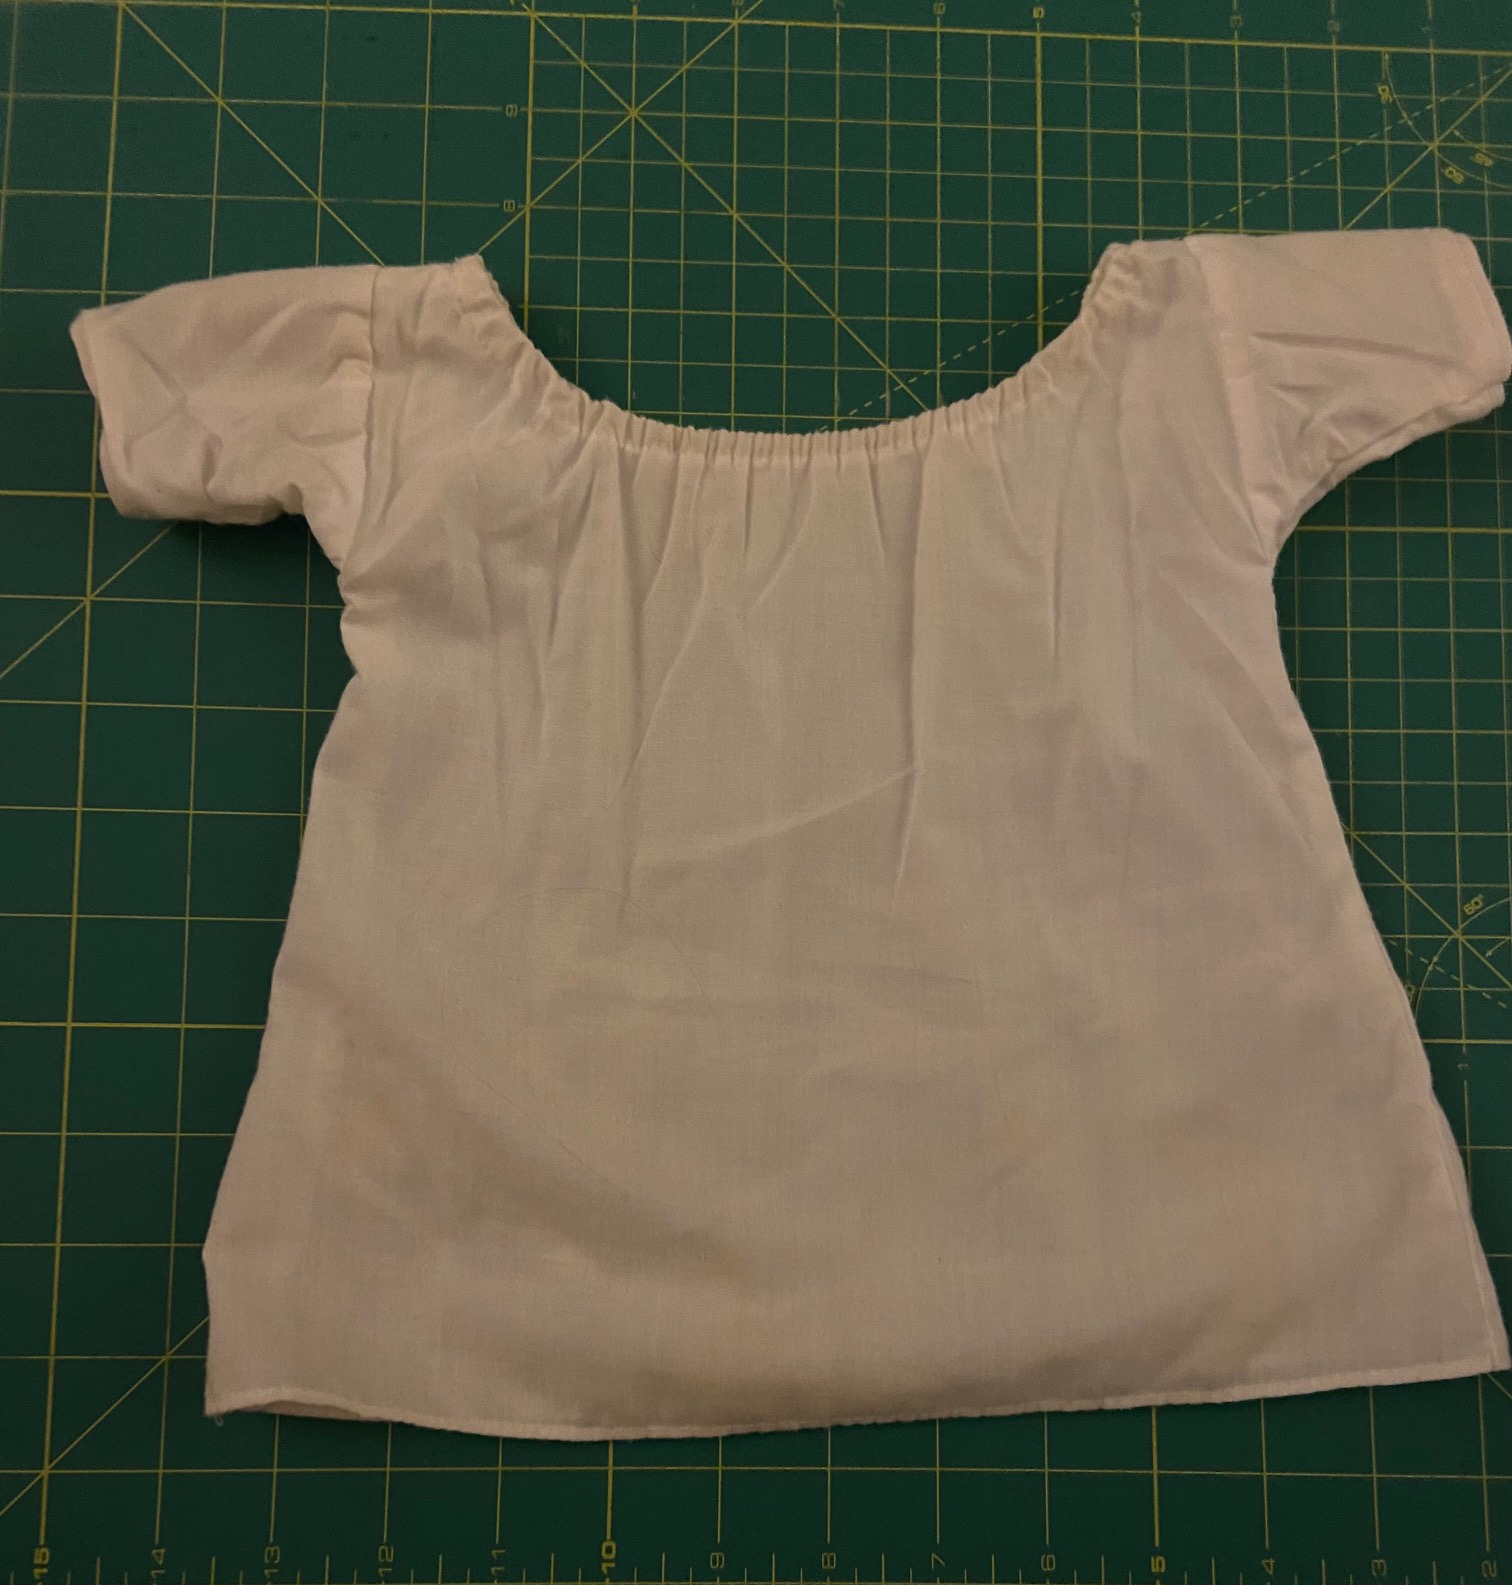
I've had an American Girl Felicity doll since I was a kid in the early 90s. Unfortunately, time took its toll on her. Her hair was so matted that I needed to replace her wig, her original socks got moth-eaten and had to be replaced, and her shift....well.
Before 1998, Felicity's shift was made very loose and gathered with elastic. This is also the way the pattern for extra shifts in "Felicity's Pretty Clothes" works. After over 30 years, the elastic was all stretched out and looked downright indecent.
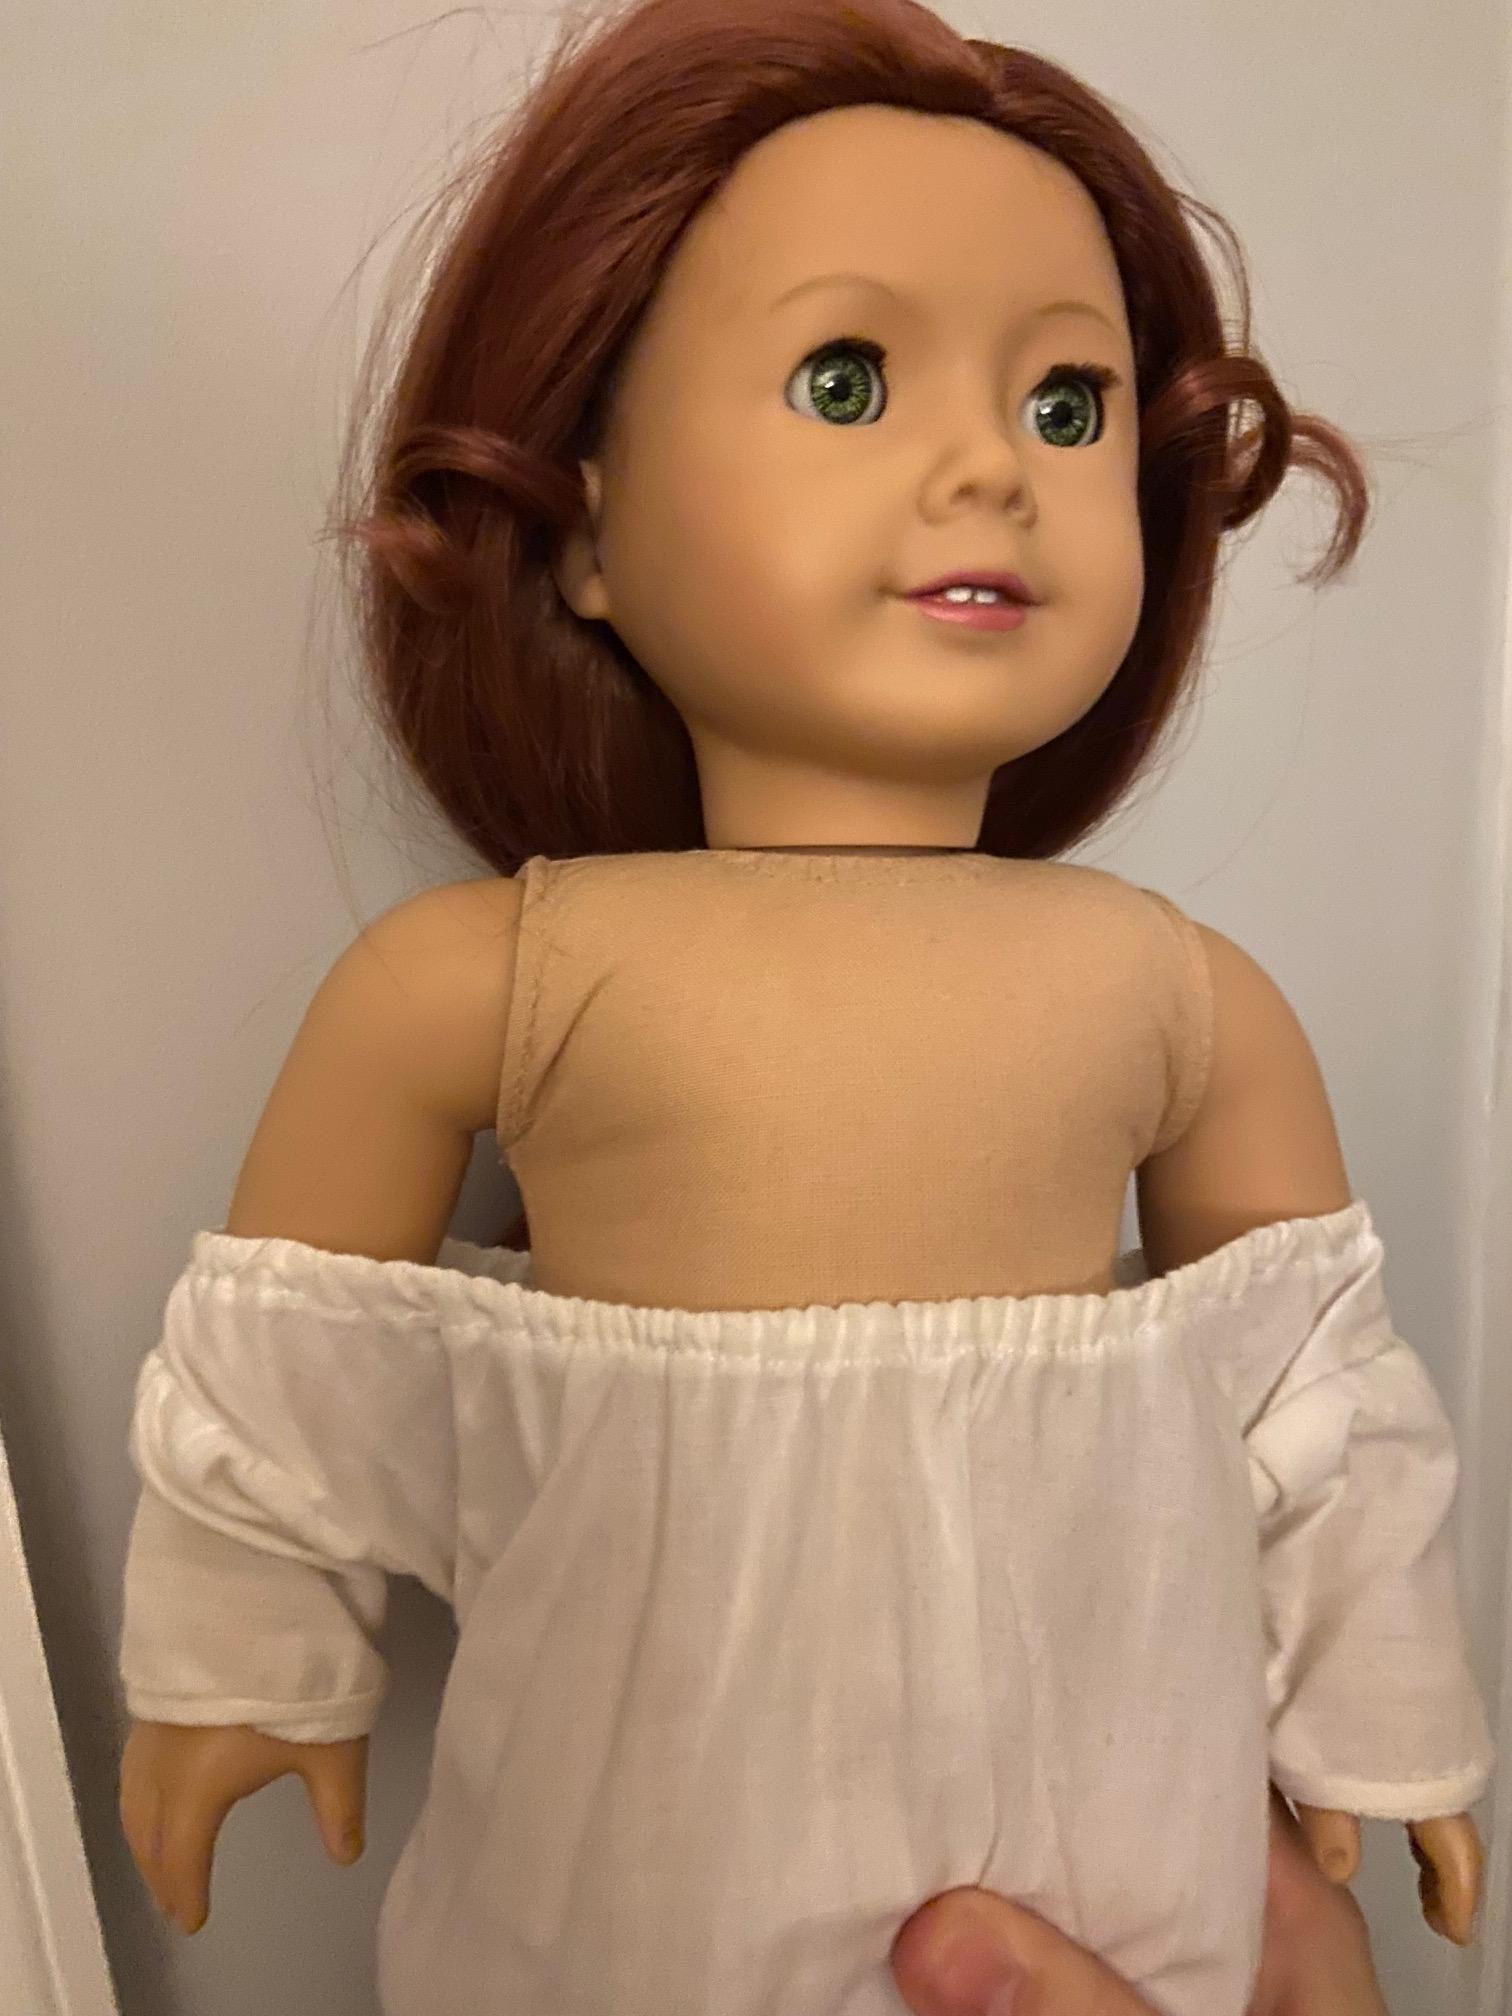
Look at that. You can see the poor girl's entire chest. That simply won't do.
Fortunately, there is an easy fix, and I'm sharing it for anyone else who needs to restore this garment for their doll.
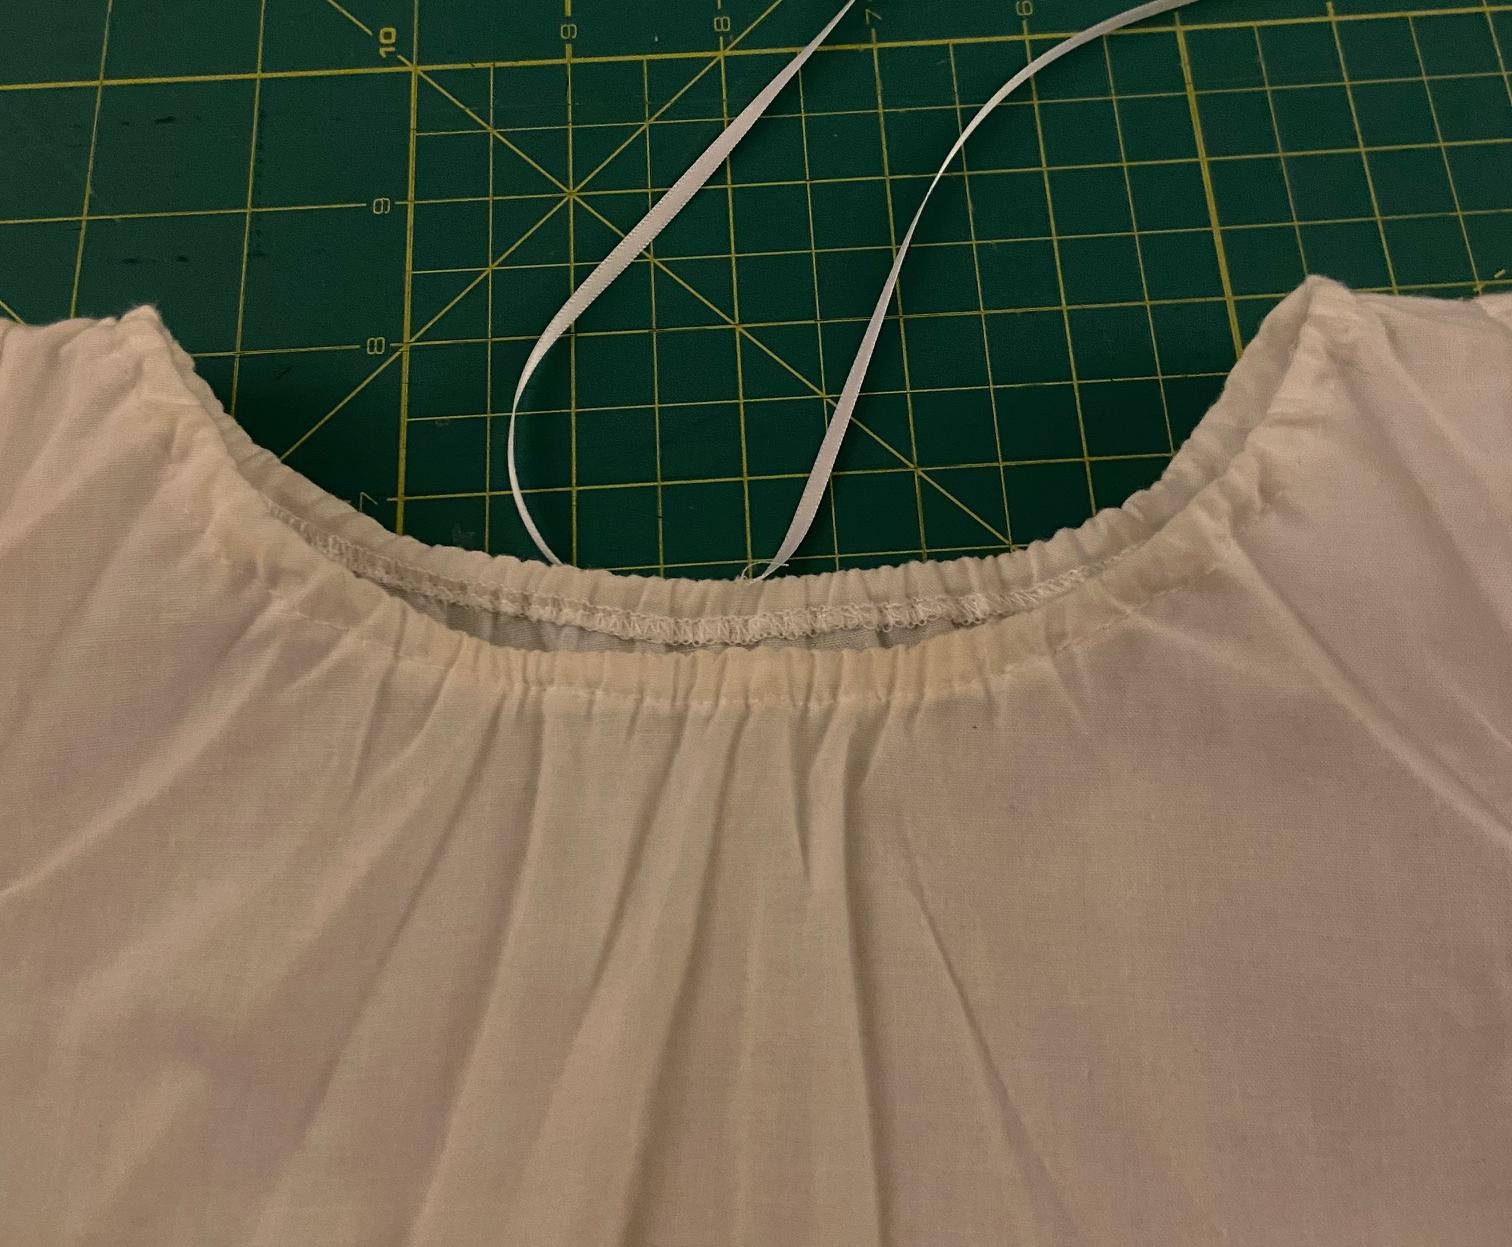
Step one was to carefully snip some of the threads in the center back of the collar with a seam ripper. Then, I cut the elastic and carefully pulled it all out through the hole I'd made.
At this point, the shift may not look salvageable. But with 1/8" (3mm) white ribbon and a blunt yarn needle, anything is possible.
I simply threaded the needle with ribbon, pushed the needle into the hole, pulled it the whole way around the collar, and back out through the hole. A drawstring may not seem like an ideal solution, but it's easy to use, it's closer to what could have been done in period, AND it never stretches out the way elastic does!
After trimming the ends of the ribbon to a reasonable length (but still long enough that it's unlikely to get lost inside the collar), I just put the shift over Felicity's head, tightened the ribbon until the shift was at the right height, and tied the ribbons into a neat little bow. The bow is easy to tuck under her dresses for an invisible finish.
So there you have it! A quick, 10-minute fix for a very frustrating wardrobe malfunction.